

Sam Banks, our Technical Digital Strategist at Fuelius, explains how to export companies from within HubSpot, watch the video or follow the below guide…
Hub: Sales
Difficulty: Easy
Tier: Free/Starter+

- Starting to export your companies from HubSpot
- How to select the companies for your export
- Getting the right information for your export
Starting to export your companies from HubSpot
To get started, head over to ‘Contacts’ and then ‘Companies’ and this will then bring you to the company screen within HubSpot. This screen mirrors the standard column and row layouts that you're probably familiar with tools such as Excel, a real plus when you'll probably be exporting to something like Excel.

A top tip before you export your data is to make sure you’re filtering it to get the information you ultimately want to sort, so, for example, if you want to filter to show any companies you own, press ‘More Filters’, search for the field you want to filter by, so in this example, it's ‘Company Owner’, then ‘Is Any Of’ and then click on ‘Me’. This will reduce the database to just what's relevant for your search, in this case, your own company data.

It’s worth bearing in mind that you will need certain admin permissions or certain user permissions, set by your portal owner, in order to export or import data from within your HubSpot portal.
How to select the companies for your export
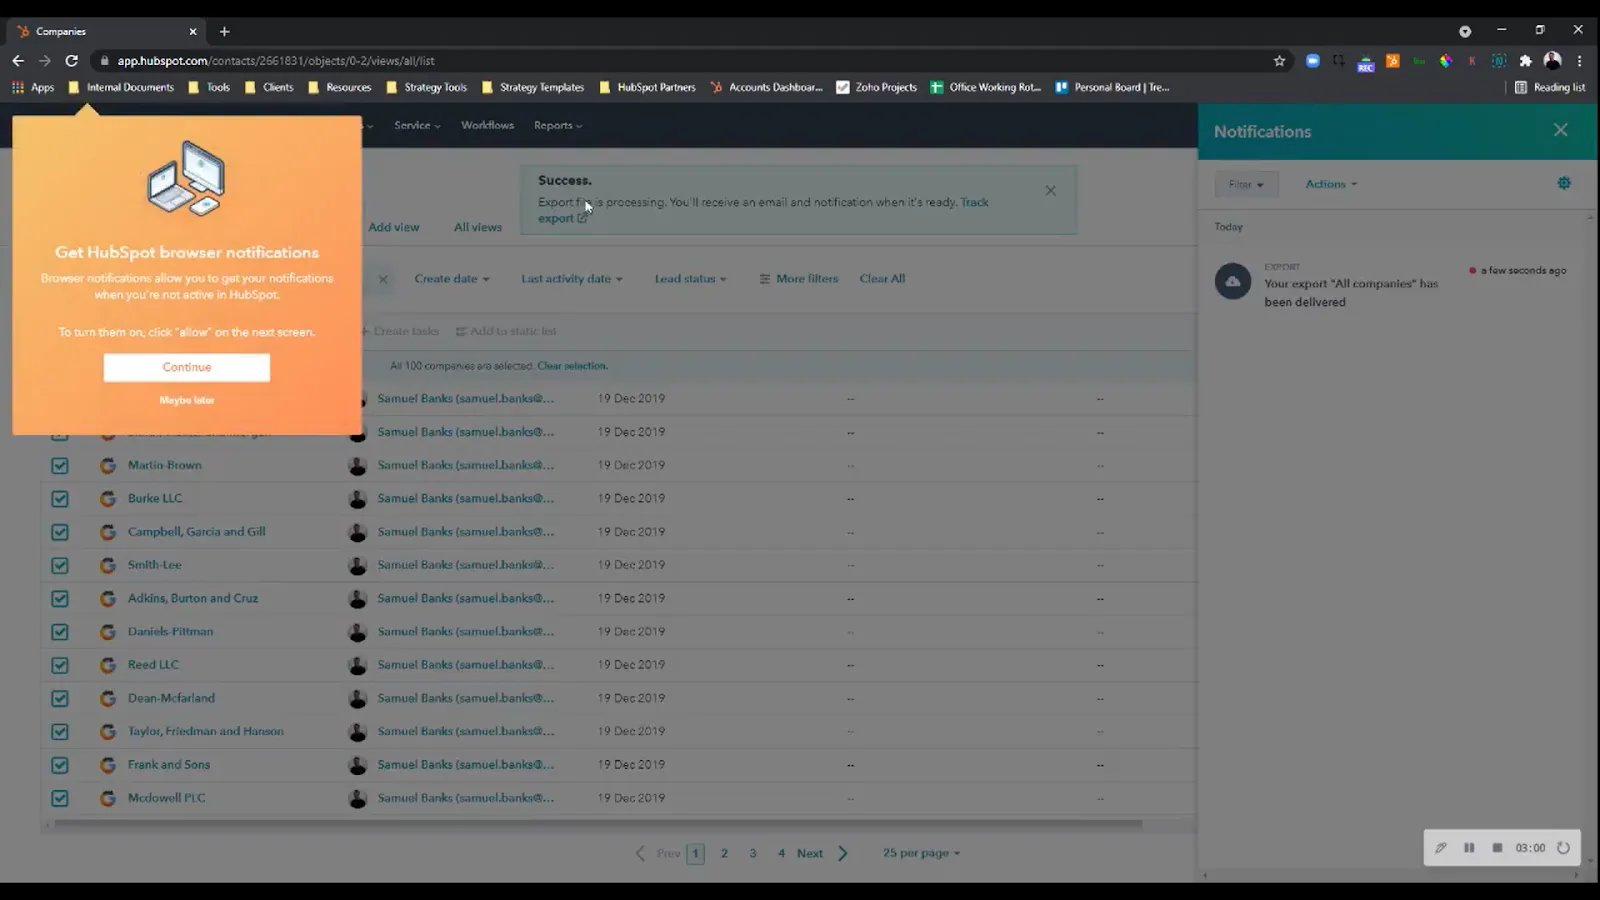
The next step is to select all of the companies that you want to export. At this point, you will notice that only 25 companies are selected, so if you want to export the entire filter, you’ll need to press ‘Select All 100 Companies’ which will swap the filter to 100 companies. After this, press ‘Table Actions’, and ‘Export View’ and choose the file format that you want to export (CSV in this example). Following this, you can either export the properties included in the view or alternatively, export all the data you filtered with every single HubSpot company property that's within the portal.

Getting the right information for your export
If you're new to exporting data and using it as a one-off, it will probably be best if you choose the option ‘Only Properties in the View’ meaning the six headers you will have seen at the start of the process (Name, Company Owner, Create Date, Last Activity Date, Phone Number, and City) will be the only ones to be exported with the data. If you're quite the data extraordinaire then you could opt for ‘All Properties’ which will enable you to see all the data you’ve filtered in one place from within the HotSpot portal.
Using the ‘Only Properties in the View’ option, then press ‘Export’ to export the file and receive an email notification once it’s complete. It’s a relatively quick process to complete the export and you will then see a pop-up that gives you the option to click and download it. If you do happen to miss this pop-up, or it’s taking a little longer than usual to download, just check your notifications in the top right corner of the screen as you will be notified once the export has been completed.
It may be useful to know that it is possible for you to customise the header prior to the export by simply going to ‘Table Actions’, and ‘Edit Columns’ and simply adding to the properties the ones you want to export. From here you can also remove certain headers that you might not want to export at that given point in time - if you're going to avoid the option of exporting all the properties within the portal.
If you're looking for further HubSpot support, our team would ❤️ to help you out! Book a call with us today.